
Home > Products > TMPGEnc Authoring Works 4 > Tutorials > Adding Subtitles: Layout and Styles
Tutorials
Tutorials
DVD Creation
Adding Subtitles
Transition Effects
Menu Creation
Title Sequences
Adding Subtitles
Changing Layout and Styles
Now we'll learn how to change the layout and styles of the subtitles we've created. You can set things like font, font size, color, alignment, and more.
Accessing the Layout Settings
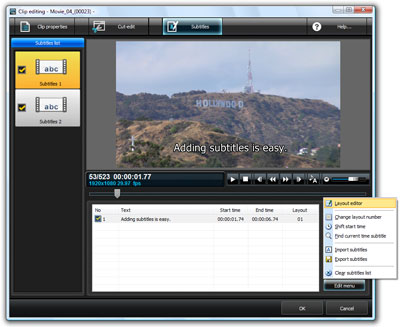
In the Subtitle screen, click on the "Edit menu" button and select "Layout editor" from the menu.
|
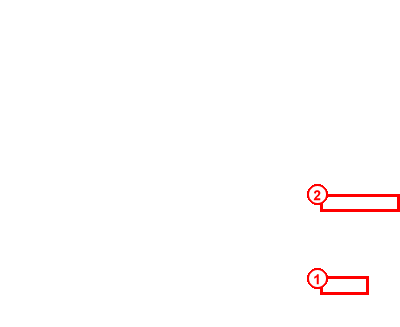
1. Click "Edit menu". 2. Select "Layout editor" from the menu. |
The Layout Settings Screen
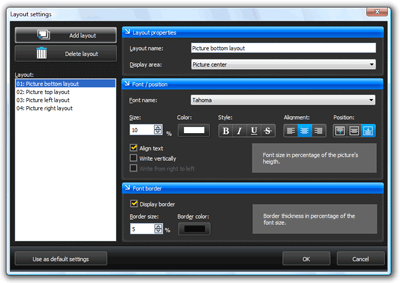
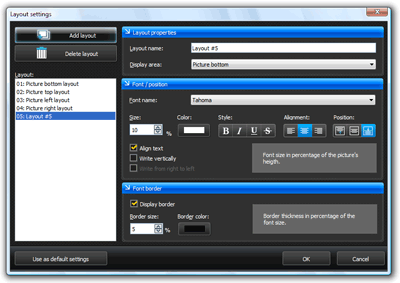
A new window should appear called "Layout Settings". Here is an explanation of what you will see.
|
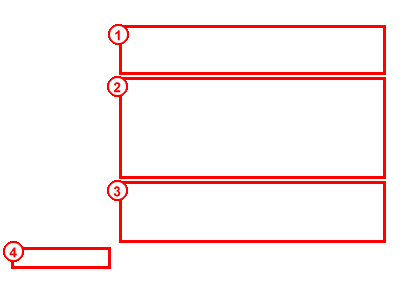
1. Layout Properties 2. Font/position 3. Font border 4. Use as default settings |
Adding a Custom Layout
Get to the Layout settings by clicking on "Edit menu" and selecting "Layout editor" from the menu", then follow these directions.1. Click the "Add Layout" button.


|
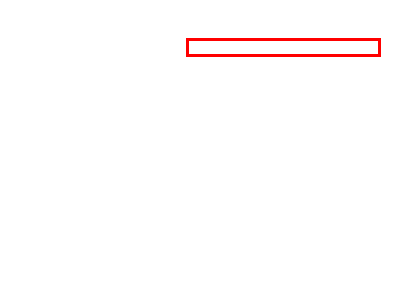
Upon clicking "Add layout", a new layout should appear in the Layout list on the left side of the window. As you can see, the layout name is "Layout #5". However, you can change it to whatever you want. |
2. Set Each Layout Setting
|
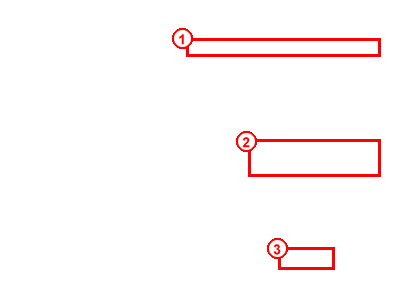
1. Change the layout name if you desire. 2. Change the font, position, and border settings until you are content. 3. Click "OK" to confirm your layout. This will close the Layout settings window. |
3. Back To the Editing Panel
|
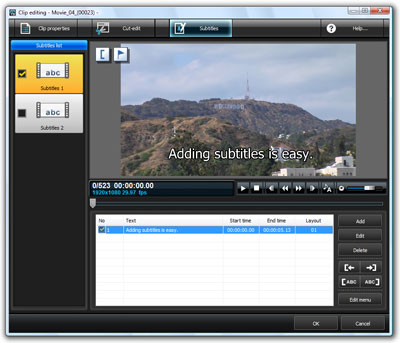
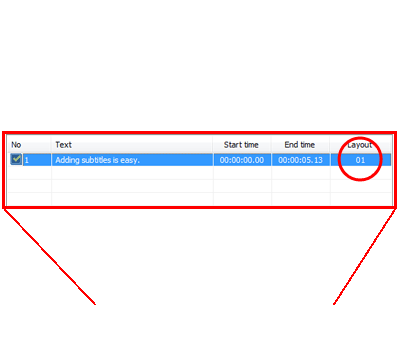
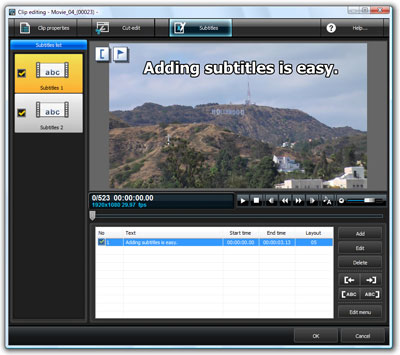
We are now back at the main subtitle window. Take a look at the subtitle we've already created from before in the Subtitle Editing Panel; you'll notice that it still has Layout #1 applied to it. |
4. Edit Subtitle Text
|
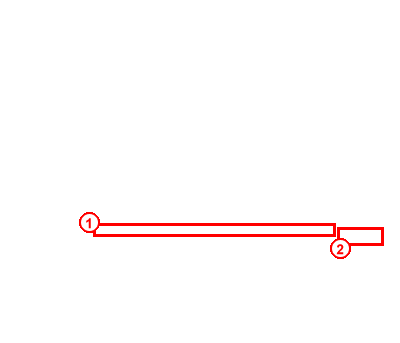
1. Select the subtitle that you want to edit in the Subtitle Editing Panel so that it is highlihted. 2. Click the "Edit" button. |
5. Changing the Layout

|
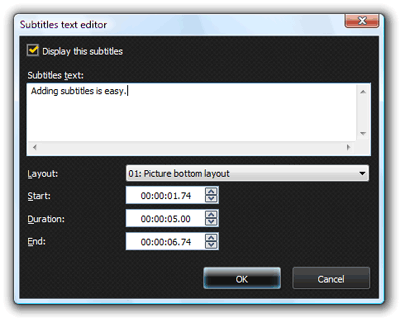
Upon clicking the "Edit" button, the "Subtitles text editor" window should appear. From here, we can set the layout for this particular subtitle. By clicking on the downward arrow, you can view all of the saved layouts. |
|
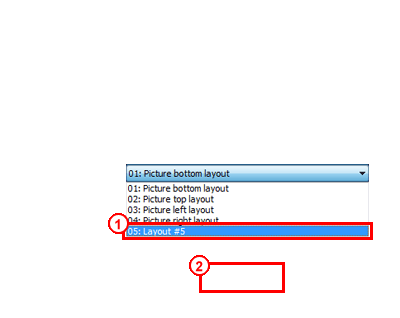
1. From the layout list, select our newly created layout, "Layout #05". 2. Click "OK" to confirm. |
6. Layout Changed!

|
The layout for the selected subtitle should now be changed to #05. |
