
Home > Products > TMPGEnc Authoring Works 4 > Tutorials > Menu Creation: Custom Menus
Tutorials
Tutorials
DVD Creation
Adding Subtitles
Transition Effects
Menu Creation
Title Sequences
Menu Creation

Custom Menus
Besides using menu templates, you can create an original menu by selecting menu layouts and menu parts. With a custom menu, you also have control over resizing and moving thumbnails and other menu elements.
1. Menu Wizard: Creating a Custom Menu
|
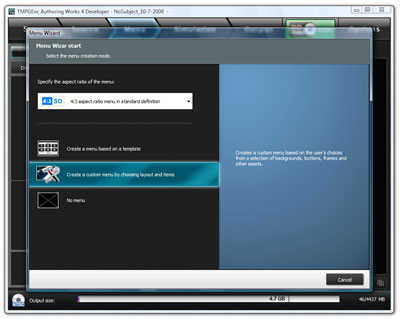
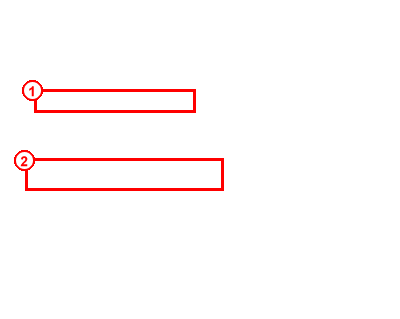
1. In the Menu Wizard, select an aspect ratio for the menu. In this tutorial, we'll use a 4:3 aspect ratio. 2. Then, click on "Create a custom menu by choosing layout and items". |
2. Menu Wizard: Menu Composition Settings
|
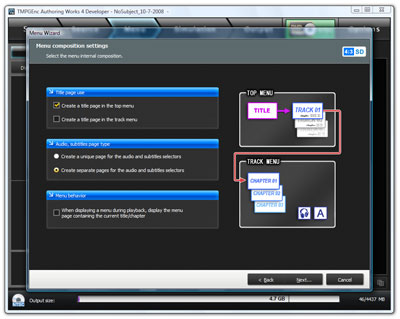
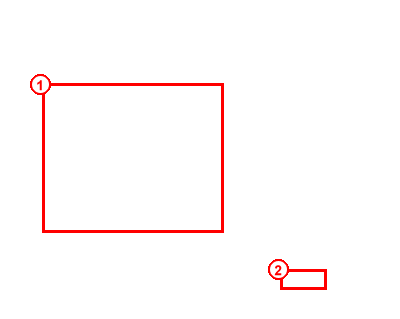
1. You should now be in the "Menu composition settings" window where you can select additional options for your menu. 2. After you've selected your options, click on the "Next" button to proceed. |
Explanation of options:


This will create a title page that will appear before your top menu.

This will create a title page that will appear before your track menu.


Selecting this will create a single page for the audio and subtitle options of your project. Subsequently, there will be only one menu button to access both audio and subtitle options.

Selecting this will create separate menu pages for audio and subtitle options. Subsequently, there will be two menu buttons: one to access the audio options and one to access subtitle options.


When playing a DVD, you can go back to the menu by pressing the "menu" button on your DVD remote. Checking this option will make the DVD player go to the menu associated with the current title/chapter you were viewing.
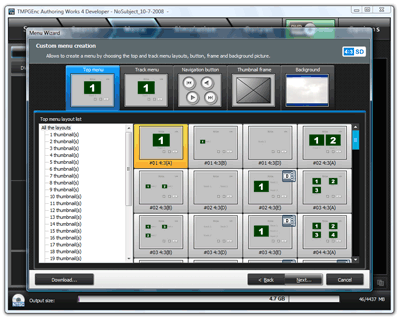
3. Menu Wizard: Custom Menu Creation
|
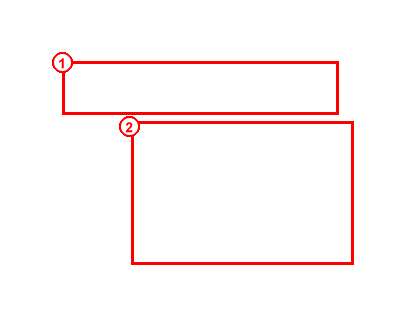
1. From this screen, you can choose the layout of the top and track menus, plus choose a design for the menu elements. Click on a tab to select the menu part you would like to set. 2. In this image, we've selected the Top Menu so the area below display all of the available layouts. Simply click on one of the layout designs to select it. You can do the same for each menu part. |
Other Information:

Clicking on this will let you download additional menu parts from our website (if available).
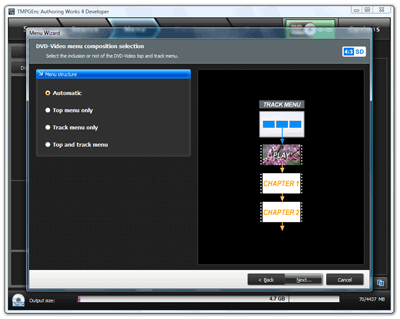
4. Menu Wizard: DVD-Video Menu Composition Selection
|
1. Here, you can select the structure of the menu. You can choose one of four options which are explained below. 2. Then, click on the "Next" button to proceed. |
Here is an explanation of each option:

This will let the program automatically choose what type of structure the menu will have based on the contents of your project.

This will create a top menu only; track menus will not be created.

This will create a track menu only. Not recommended if you have multiple tracks; playback problems may arise if you have multiple tracks without a top menu. For DivX Ultra projects, you must have a top and a track menu if you have multiple tracks.

Creates a typical menu with both top and track menus.
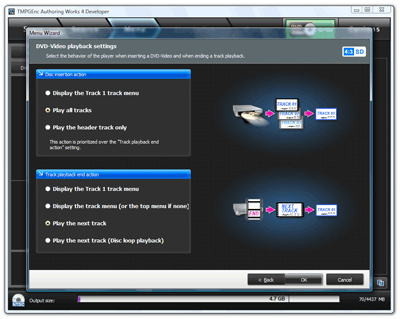
5. Menu Wizard: DVD-Video playback settings
|
1. Select an option for the Disc Insertion Action. This is what will happen after you insert the DVD into the DVD player. We'll just keep it on "Play all tracks". 2. Then, click on the "OK" button to proceed. |
Here is an explanation of each option:


This will automatically display the first track menu after the disc is inserted into the player.

This will automatically play all tracks after the disc is inserted into the player.

This will play the header track only after the disc is inserted in the player.

Displays the first track menu after a track has finished playing.

Displays the track menu (of the track being played) after the track has finished playing.

Plays the next track after the current track is finished playing. The top or first track menu will be displayed after playback is finished for the last track.

Plays the next track after the current track is finished playing. After playback is finished for the last track, it will start playback of the first track, looping the playback of all tracks infinitely.
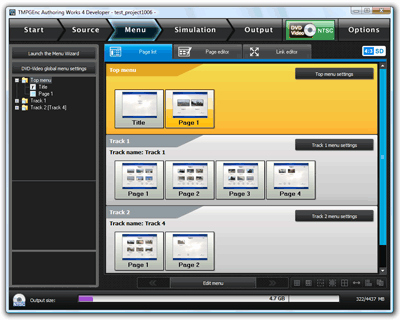
Menu Created!
|
After confirming the DVD insertion options, the Menu Wizard will close and you will see a list view of all of your menu pages. |
