
Home > Products > TMPGEnc Authoring Works 4 > Tutorials > Title Sequences: Inserting a Title Image
Tutorials
Tutorials
DVD Creation
Adding Subtitles
Transition Effects
Menu Creation
Title Sequences
Title Sequences
Inserting A Title Image
So we've got our title image ready; let's make a new project and learn how to set up the title image.
1. Select Output Format
|
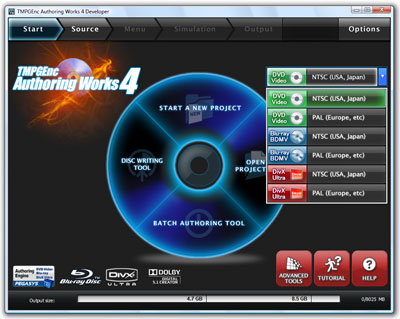
1. In the Start Stage, we'll select an output format from this list. You can choose any format, but for our example, we'll select a NTSC DVD. 2. Click the "Start a new project" button. |
Upon clicking the "Start a new project" button, you will automatically be brought to the next step, the Source Stage.
2. Source Wizard: Clip Addition Source
|
|
Select the "From pictures as a slideshow" option. |
This will bring us to the next step...
3. Source Wizard: Slideshow Creation Mode Selection

|
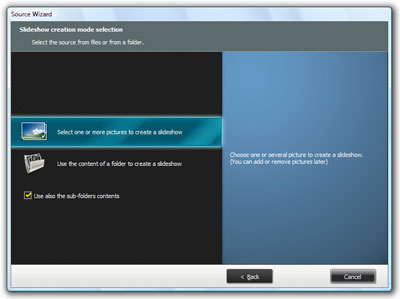
Select the "Select one or more pictures to create a slideshow" option. |
This will open up a file browser...
4. Source Wizard: File Selection

|
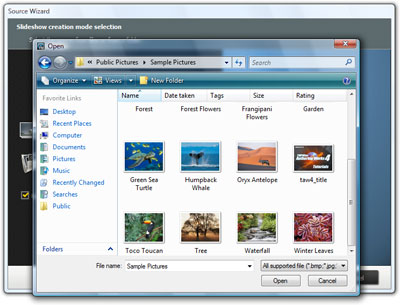
1. Find the image you'd like to use for your title image with the file browser. 2. Then, click the "Open" button to confirm and go to the next step... |
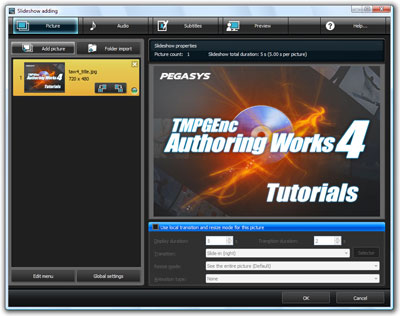
5. The Slideshow Adding Window
|
The title image we've selected should appear in this window. |
6. Editing the Slideshow Settings

|
Click on the "Global settings" button to access the slideshow settings. |
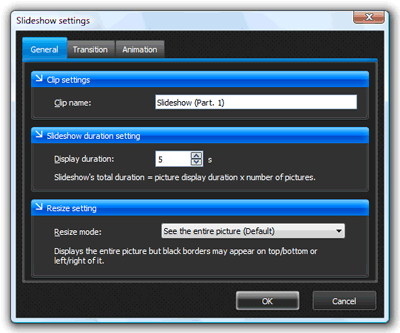
7. Slideshow General Settings
|
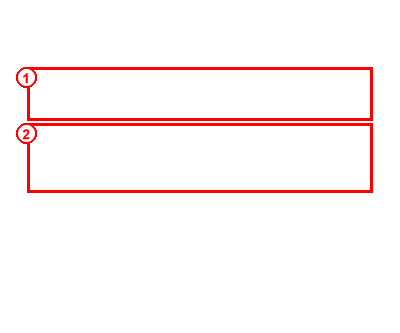
1. The clip name can be edited here. 2. Here is where we can alter how long our title image will appear on screen. |
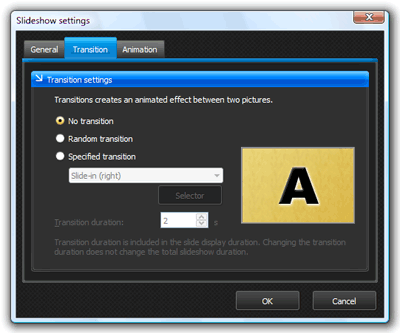
8. Slideshow Transition Settings
|
1. If you are using multiple images for your title sequence, you can choose transition effects that will appear between them. If you are only using a single image, select "No transition". 2. Click "OK" to confirm your settings. |
We are now back at the Slideshow Adding window.
Click the "OK" button to add the slideshow as a clip in the Source Stage.
