
Home > Products > TMPGEnc Authoring Works 4 > Tutorials > Title Sequences: Track Settings
Tutorials
Tutorials
DVD Creation
Adding Subtitles
Transition Effects
Menu Creation
Title Sequences
Title Sequences
Track Settings
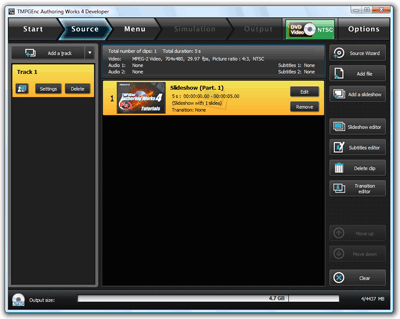
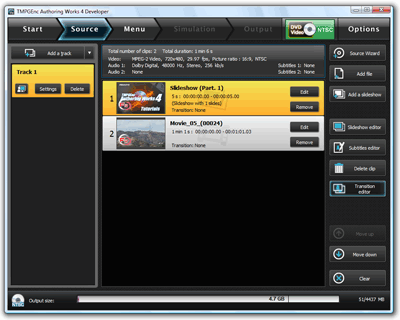
We should now be back in the Source Stage, and the slideshow containing the title image should show up as a clip in the clip list.
Now it's time to combine the title image with our video.
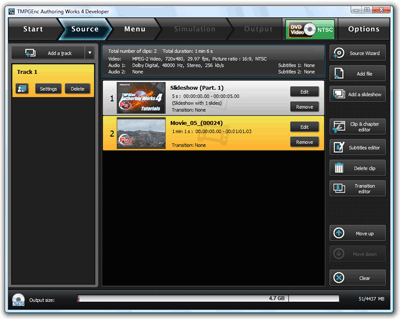
1. Add A Video

|
Click on the "Add file" or "Source Wizard" buttons to add a video clip. |

|
Once the file is added, it will appear in the clip list. |
2. Set Track Settings

|
We'll need to link our title image clip to our video clip. To do this, click on the "Settings" button for the track. |
This will open the track settings window...
3. Track Settings: General Settings
|
|
1. For Clip linking, select "Link the clips" from the drop-down menu. 2. Click "OK" to confirm. Our two clips should now be linked and will play together as if it were one clip. |
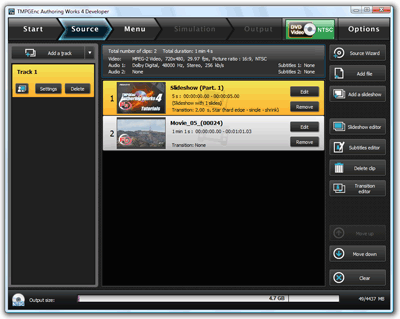
4. Set a Clip Transition
|
Now we'll set a transition between our title image clip and our video clip for a more professional look. Select the slideshow clip (our title image) and click the "Transition editor" button to open the Transition Editor window. |
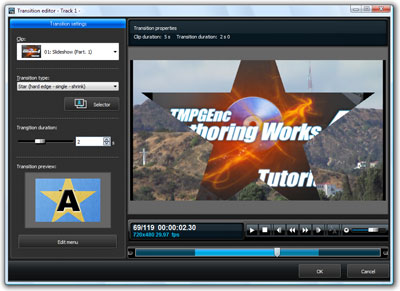
5. The Transition Editor Window
|
1. Select a transition under "Transition type". You can also click on the "Selector" button to easily choose a transition type from a categorized list or description tags. 2. Click "OK" once the transition effect is chosen. |
6. Preview The Transition

|
To preview how the transition will look, click on the "Track preview" button to open a preview window. |
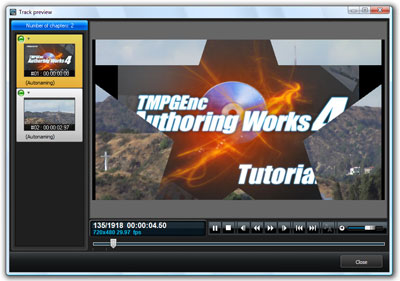
7. Track Preview
|
Just press play to see how the transition will look between the title image and the video. |
That's it! You've incorperated a still image into your video to make a simple title sequence.
You can use this technique to add more than just title sequences! Insert slideshows seamlessly into your video, or by changing the order of the clips and utilizing the split clip function, you can use still images for chapter titles, intermission sequences, or even the credits for your video! Use your imagination and try it out!
