Home > Products > TMPGEnc Authoring Works 4 > Tutorials > Transition Effects: Slideshow Individual Settings
Tutorials
Tutorials
Transition Effects
Transitions Between Clips
Besides transition effects in slideshows, you can add transition effects between video clips in a track.

|
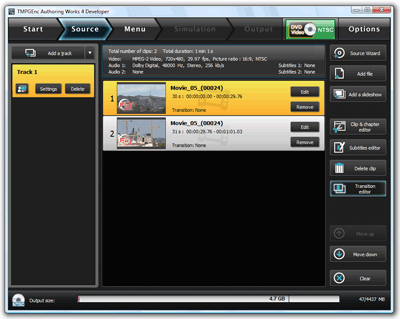
After you added at least two clips to a track in the Source stage, click on the "Transition editor" button. This will open the Transition editor window for the selected clip. |
The Transition Editor Window
|
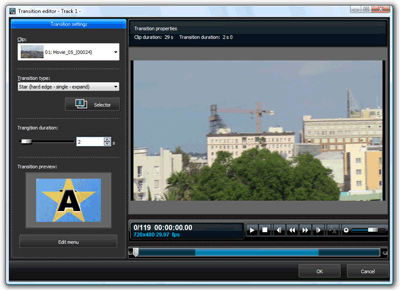
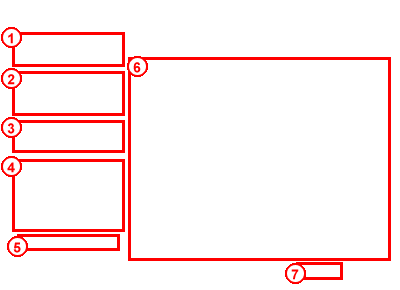
1. Clip Selector 2. Transition Type 3. Transition Duration |
4. Transition Preview
This allows you to easily see what the transition effect looks like.
5. Edit Menu
This lets you apply the selected transition to all clips in the track, or lets you delete all transitions.
6. Preview
You can preview the transition effects for the selected clip here. The bright blue area in the seek bar shows the duration of the transition effect.
7. Click "OK" to confirm your transition effect(s).
Splitting Clips
If you want to add transition effects within a single clip, you will first have to split the clip into multiple clips.
1. Open the Cut Editor


|
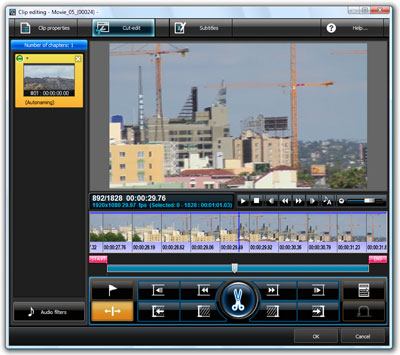
You can access the Cut Editor window by clicking on the "Edit" button in the clip list or by clicking on the "Clip and Chapter Editor" button. |
2. Select Your Split Point

|
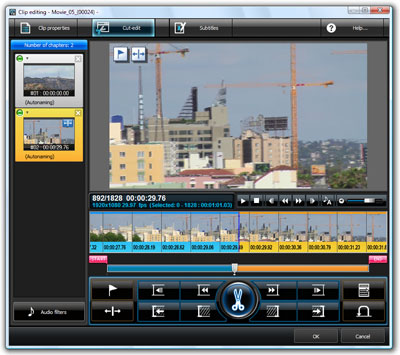
Move the playhead to where you would like to divide your clip and click the "Clip split point" button. |

|
The thumbnails to the right of the split point will turn yellow and a chapter mark will be added at the split point. |
*For more information on clip splitting and cut editing, please see the help file included with the software.
3. Confirm Your Split Point


|
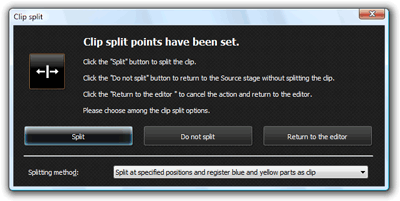
Click the "OK" button to confirm your split point. |
|
A "Clip Split" window should appear. |
4. Split Clip Options


|
Make sure "Split at specified positions and register blue and yellow parts as clip" is selected as the splitting method. *Depending on how you split your clip, you may need to choose a different option. See the help file included with the software for more information. |


|
After selecting the splitting method, click on the "Split" button to split the clip. |
5. Clips Are Now Split


|
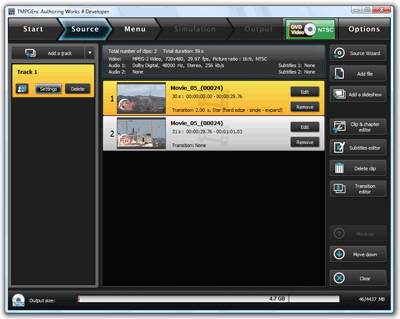
You should now have two clips from the single clip in the clip list of the Source Stage. |
6. Adding Transitions

|
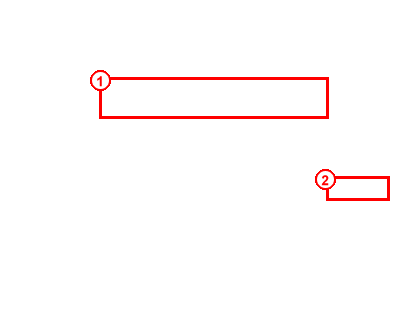
1. Select the first clip from the clip list. 2. Click on the "Transition editor" button. This will open the Transition editor in a new window. |
7. Adding Transitions


|
1. Select a transition from the drop-down list under "Transition type". 2. You can also click on the "Selector" button to choose from transition categories and description tags. |
8. Confirm Your Transition


|
Click "OK" to confirm your selection. |
9. Transition Set!

|
Back in the clip list, you can now see that the first clip shows the transition we've selected. |
10. Link Clips


|
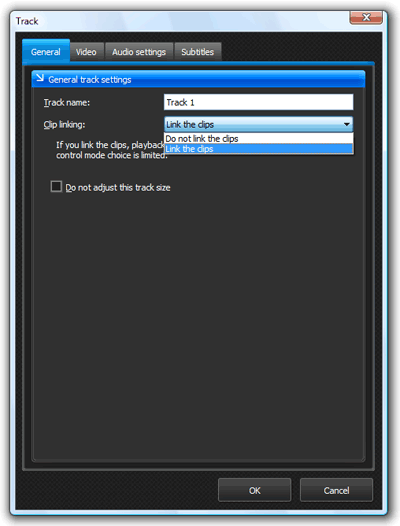
In order for the transitions to work properly between the first and second clip, the two clips will need to be linked. You can enable clip linking by clicking on the "Settings" button for the track. This opens the Track settings in a new window... |
11. The Track Settings

|
In the General tab of the Track Settings window, make sure that "Link the clips" is selected for the Clip Linking option. Click "OK" to confirm. |
You've now added a transition effect into what was once a single clip! Remember: you can always split your clip even more and add more transition effects.
Next Tutorial: Menu Creation Back to the Tutorial Index
