
Home > Products > TMPGEnc Authoring Works 4 > Tutorials > Menu Creation: Editing Custom Menus - Placement and Resizing
Tutorials
Tutorials
DVD Creation
Adding Subtitles
Transition Effects
Menu Creation
Title Sequences
Menu Creation

Editing Custom Menus: Placement and Resizing
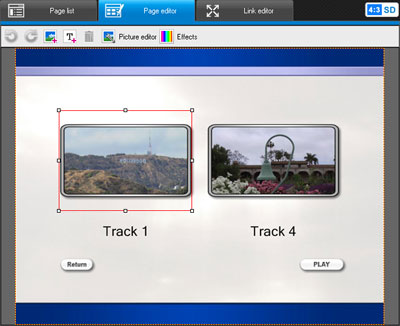
You've got your thumbnail selected, now let's learn how to move it around and resize it.
How To Move and Resize Menu Items
|
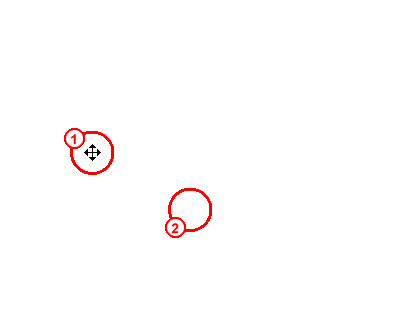
1. You can move the thumbnail by simply dragging it with your mouse pointer. Notice that when your mouse cursor moves over the thumbnail, the cursor turns into a 4-way directional cross. This means that you can move it freely. 2. Now for resizing. Notice the small boxes at the corners and edges of the thumbnail? These are anchor points that you can click and drag to resize the thumbnail. Try it out now! |
These techniques can be applied to any menu item. Use them to resize and position menu buttons, page numbers, track names, titles, anything!
The Menu Item Editor

|
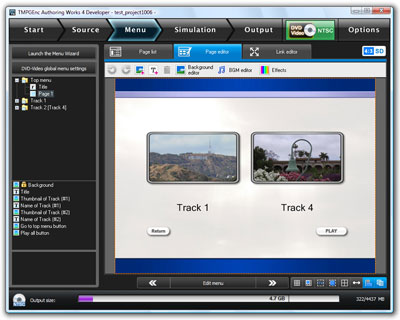
Now let's double click the thumbnail to open the Menu Item Editor. |
Double clicking a menu item will open the Menu Item Editor in a new window. With the Menu Item Editor, you can change the thumbnail image and add various visual effects.
Next: Menu Item Editor: Picture Selection Back to the Tutorial Index