
This page introduces you how to use the CUDA functions through the trial verision of
TMPGEnc 4.0 XPress.
 |
 |
 |
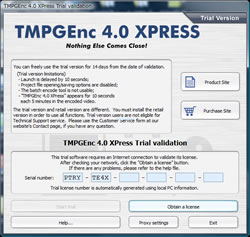
1. When you start TMPGEnc 4.0 XPress, |
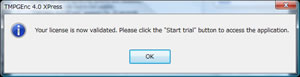
3. Once your license is validated, you can use the trial. |
4. Click the "Start trial" button.
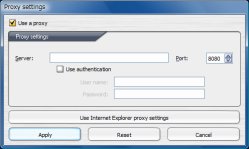
If you use a proxy, input your proxy settings.
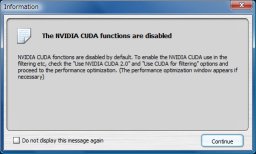
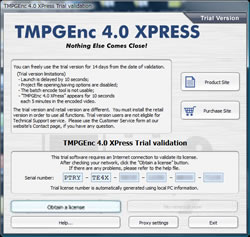
This screen will appear if the CUDA function is disabled.
 |
|
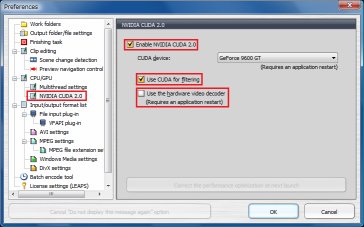 |
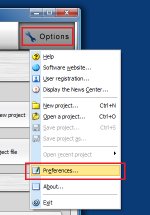
1. Click the Option button, and select |
2. You will see the CPU/GPU setting window and NVIDIA CUDA 2.0 |
 |
|
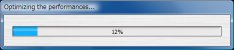 |
1. If you use the CUDA function, Performance optimization |
2. Performance optimization is finished when the |
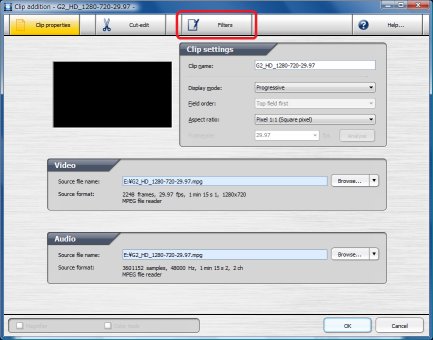
1. When you input a video file, the Clip Properties window appears.
2. Click on the "Filters" tab to show the filter settings.
 |
|
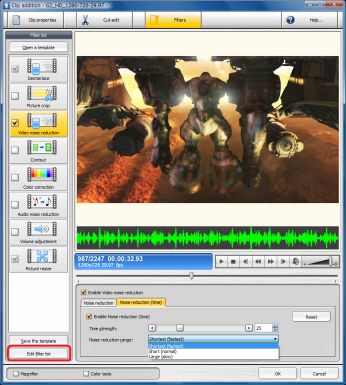 |
1. Activate a filter that takes a lot of processing time |
3. Click the "Edit filter list" button to see a filter catalog of additional filters.. |
 |
|
 |
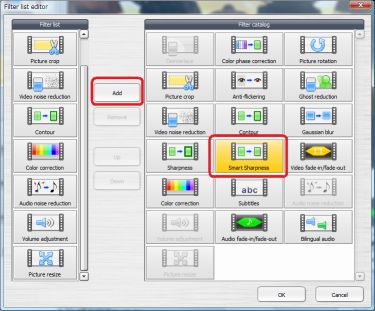
1. Click on filters that take a lot of processing time such as |
2. Enable the added filter(s). |
 |
|
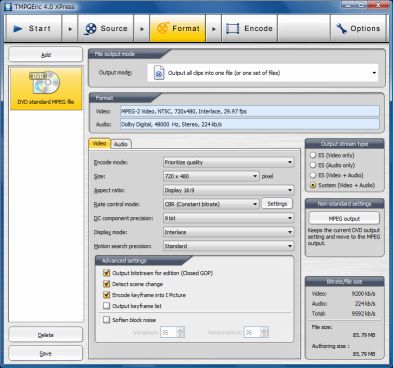 |
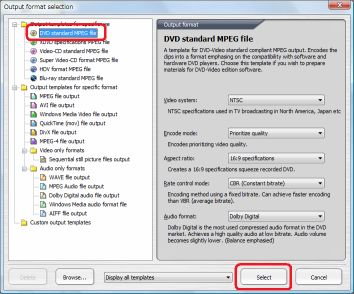
1. Select an output format such as DVD Standard MPEG |
2. You don't have to change anything on this screen, but you |
 |
|
 |
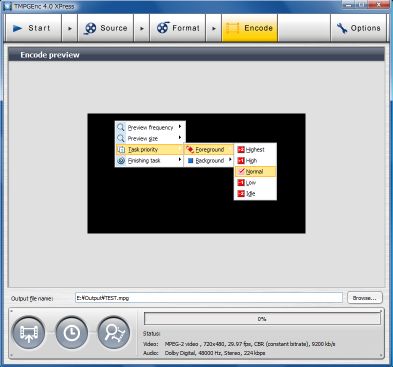
1. If you right click on this screen, you can change the |
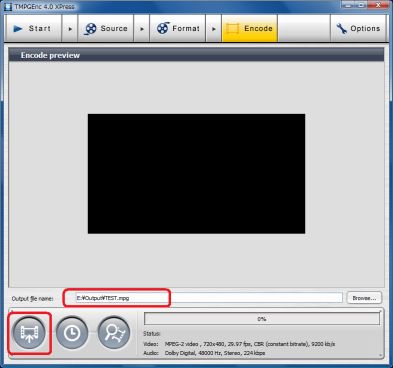
2. Click the "Start Encode"button when you finish |
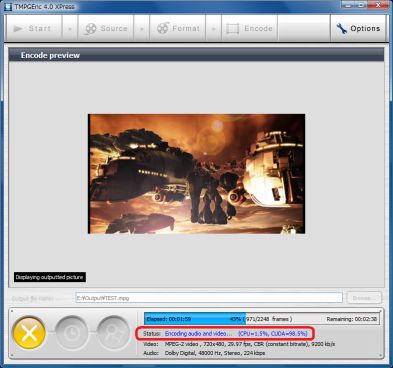
3. During output, the percentage the program is using the CPU and CUDA is shown.
(This is the accumulated rate from the beginning of the Output process. )
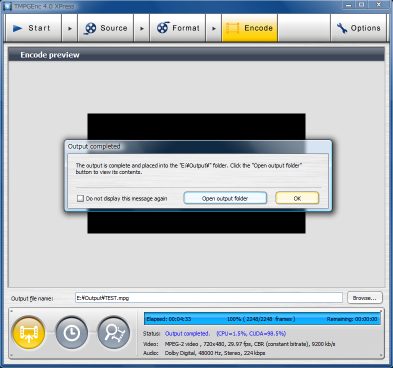
Encoding is done when it reaches 100%.
Attention
1. If you use other software while outputting, the Output speed decreases.
2. You should not change the display size.